Getting Started

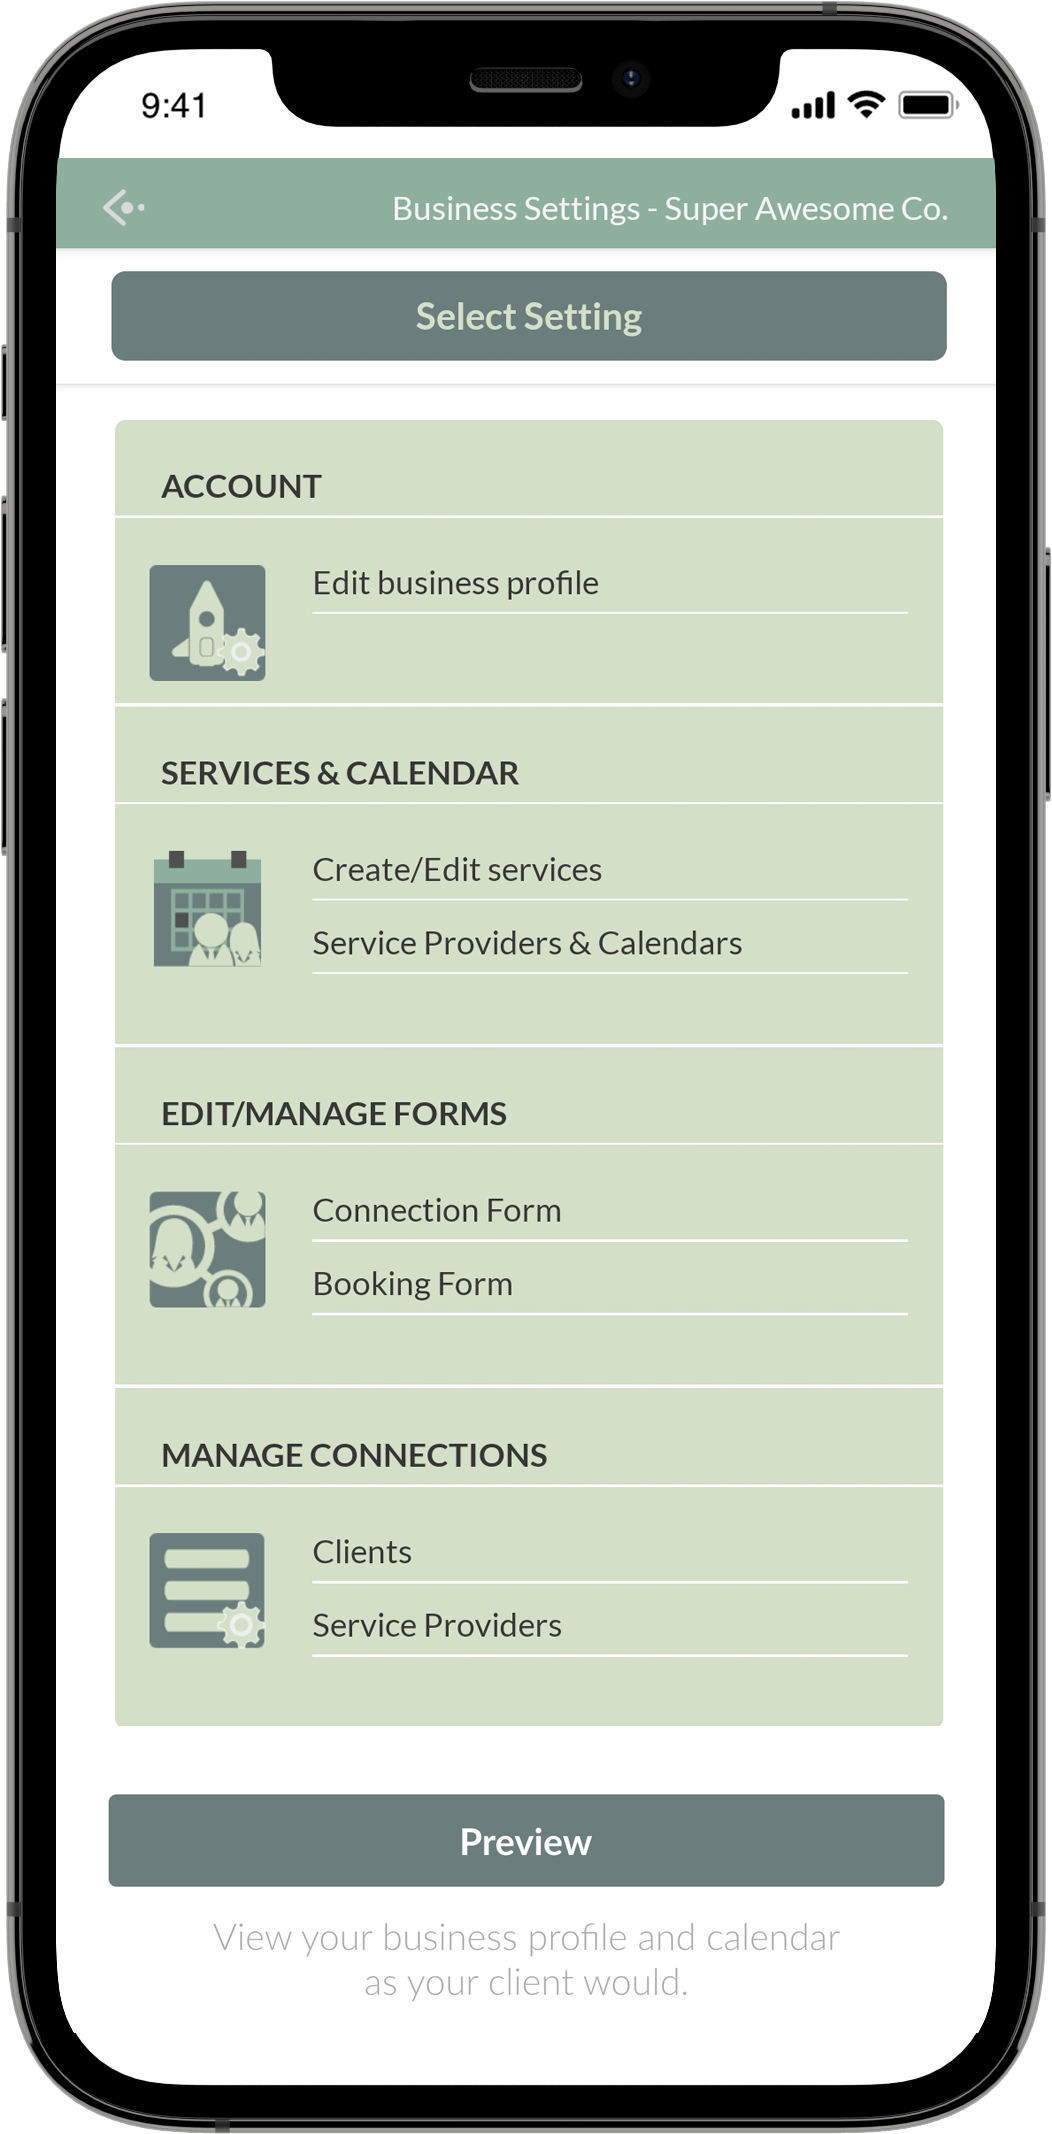
Setting up your account, business profile and rolling out the new booking method to your clients is an easy process. You just need to…

  1.  Download Avie
  2. Signup
  3. Create your business profile
  4. Let your clients know

Business Profile
Quick Setup Guide

Make yourself a cup of teaStep 1 of 7
Read More
You’ll need to take a few moments to reflect on how your business works. What are the services you offer, individually and combinations, and their duration. What days and hours you want to be bookable. Make a note of these.
Download - Setup - CreateStep 2 of 7
Read More
At the risk of stating the obvious, download the app. Next, you’ll need to sign up to create a user account which allows you to connect to businesses as a client or service provider, but in this case click on Create a Business Profile.
Build Your Business ProfileStep 3 of 7
Read More
Start by entering your Business name, and adding one service and it’s duration. Click Create. In Business Settings, you can edit these and other parameters, and Complete your Business Profile. Bio, contact details and social media links.
Create Your Services ListStep 4 of 7
Read More
Enter your services into Avie. Setup Quick Select Tags to assist your clients to quickly find what they need in your list of services. If required, setup General Custom Schedules For those services that fall outside of normal working hours.
Set your working days and hoursStep 5 of 7
Read More
Start by Dividing your day into segments, we recommend that it is the same as your shortest service duration. Set the minimum notice for new appointments and finally set your start and end times for every work day.
Setup the Connection and Booking formStep 6 of 7
Read More
Use the Connection form to request the generic information required to complete the booked service. Example; the company they work for, or their age, etc. Use the booking form to request information directly related to the booking.
Preview - Adjust - ShareStep 7 of 7
Read More
View your business profile and calendar as your clients would. Make any necessary adjustments to the services list, Quick Select Tags, General Custom Schedules, and working days and times. Once you’re happy that everything is in place, Let your clients know!
Previous
Next

what's what and
how it work

Creating your business profile is a simple process, but you will come across some functionality which needs a little explaining.

General Custom Schedules

For those services that fall outside of normal working hours. It could be something that you offer just on Saturday mornings, between 9am and 1pm.
The same custom schedule can be applied to one or multiple services.

Time Base & Minimum Notice

Time Base: Set this to your shortest service duration. Your schedule will be segmented according to it.
Minimum Notice: It's the lead up you require to a new appointment. Would you like your clients to book you this afternoon or tomorrow?

Variable Start & End Times

A practical example: you might offer a set of services that depend on sunset time.
For these, you would create a General Custom Schedule where the end time is set, but the start time is variable. Avie calculates that based on the duration that you set for the service.

Connection & Booking Forms

When signing up to Avie, users are asked to provide basic information. To connect to your business you might require more.
Booking forms are Customisable. The key feature being the ability to display entered data in the booked time slot.

Quick Select Tags

These assist your clients to quickly select what they need from your list of services.
This can get long due to the number of base and combined services which have different durations. Service A and B take 30 minutes each, but when combined take 45 minutes.

Service Providers

For when your business has grown, and you have more work than you can handle. Enlist your trusted circle.
They need to download Avie and sign up, then connect to your business as a service provider and set their availability.

Getting Your
Clients Onboard

Once you have created and setup your business profile, transitioning to Avie’s automated booking system takes only two simple steps:

  1. Set a cut off date for appointments that can be made via other means. Start of the month is recommended.
  2. Inform your clients two to three weeks in advance of the change, and if they require appointments following the cut off date, they need to use Avie to book them in.

Your clients will love the convenience that Avie will introduce to your operations. You might experience push back from one or two. But once they realise they don’t need to wait for a reply from you to book an appointment in, they’ll be onboard and thankful.

Use this email template to inform your clients of the change.